kids art project

Playful and artistic children's portraits- Artist in Residence Bio: Stella, age 3

Playful and artistic children's portraits

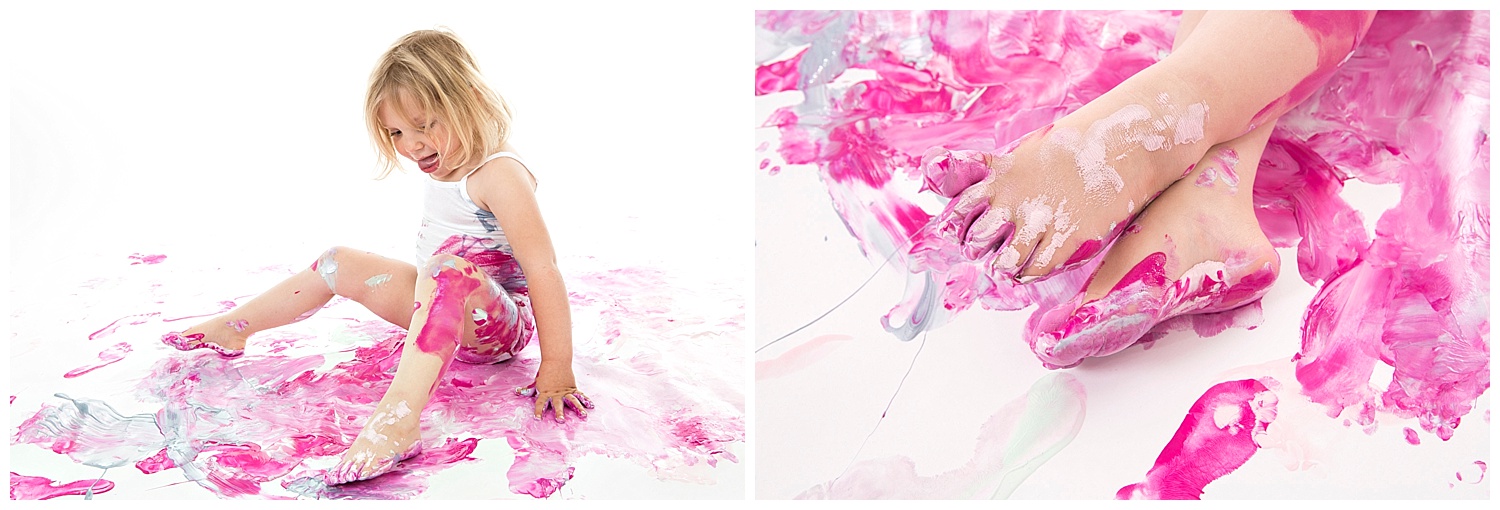
Stella was born in Denver but learned at a young age that she yearned for a classic more rustic Colorado lifestyle and moved up to the mountains in Conifer, CO.  Given her preference for the simple things in life it comes as no surprise that her preferred art medium to work with are grown up pens applied to rolls and rolls and rolls and rolls of paper.  During her paint session, she was as poised and confident as a seasoned Olympian; she strode out on the giant 9 foot paper roll...she was home.

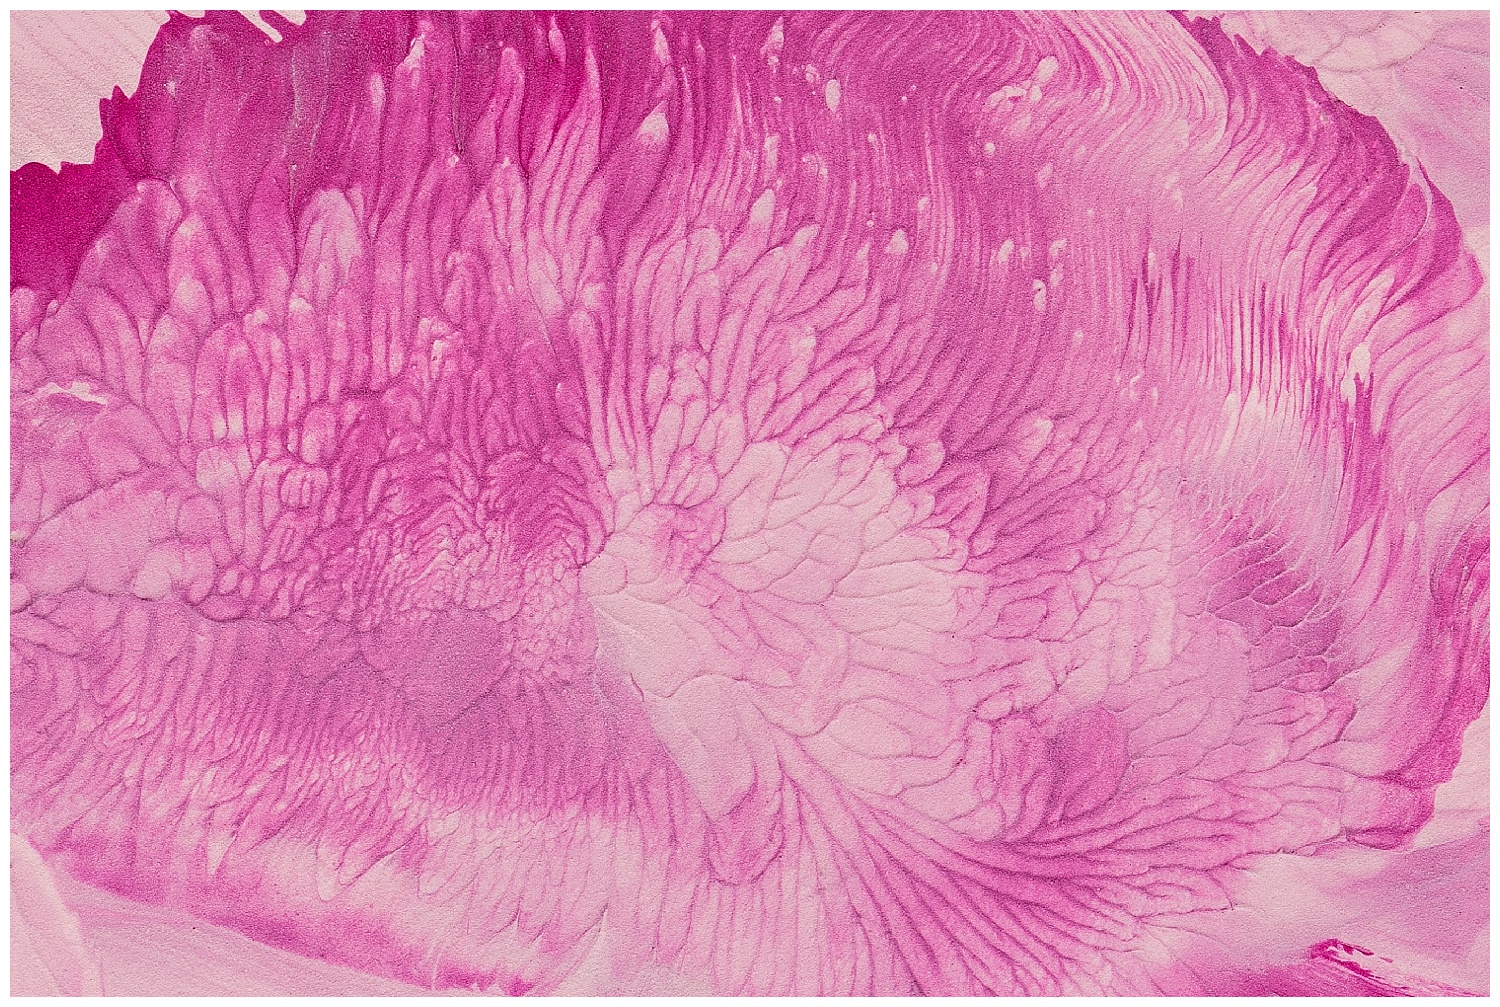
Her intensity is real, her demeanor is centered as she channels her contemporary influencers: Paw Patrol, Lion Guard and Monster Machines.  A non conformist, she feels most comfortable blurring lines and stereotypes. She wears her older brothers super hero t-shirts, and plays hard often resulting in scuffed knees and dirt smudged cheeks.  Yet she chose soft and bright pinks as her color palette to work with in her paint session. Stella follows no rules and refuses to fit in any box...perhaps that’s what makes her work so intriguing.

At home her Cow Cow and big brother Grey Grey (things so nice, she refers to them twice) as her muse.  Like most creatives/artists she suffers from insomnia but it’s that wakefulness that spurs the artist to churn out her most most inspired pieces of work.  It’s during these nighttime creative interludes that she relies on her most ardent supporter: Mom.  

She’d like to thank her Mom for providing constant support from the hours of 9pm-7am, always being a willing sound board to hear about new ideas and creations, visions in the night (sometimes scary), provider of snacks when this creative night owl needs nourishment. Most of all, a helping hand when a pillow needs fluffing, a blanky needs replacing or a gentle reminder that this artist’s soul is not alone.

Now accepting personal commissions, preferred form of payment: candy, candy, candy and also candy.

Denver childrens photographer paint session-pink-mintgreen-silver.jpg
Denver childrens photographer paint session_little-girl-pink-mintgreen-silver-eager.jpg
Denver childrens photographer paint session-little-girl-pink-messy.jpg
Denver-childrens-photographer-paint-session-handprints-little-girl-messy-tummy-pink
Andrea-Burolla-Photography-Denver-childrens-photographer-paint-session-messy-toes-handprints-foortprints-pink-tongue-out.jpg
Andrea-Burolla-Photography-Denver-childrens-photographer-paint-session-happy-little-blonde-girl-pink-messy.jpg
Andrea-Burolla-Photography-Denver-childrens-photographer-paint-session_abstract-pink-fine-art-mint-green-handprints-footprints.jpg
Andrea-Burolla-Photography-Denver-childrens-photographer-paint-session-abstract-art-pink-silver-texture-movement.jpg
Andrea-Burolla-Photography-Denver-childrens-photographer-paint-session-abstract-pink-flower-fine-art.jpg
Andrea-Burolla-Photography-Denver-childrens-photographer-paint-session-bedroom-mint-green-pink-art-abstract-vintage.jpg

3 ways to reuse plastic Easter eggs

denver childrens photographer paint sessions

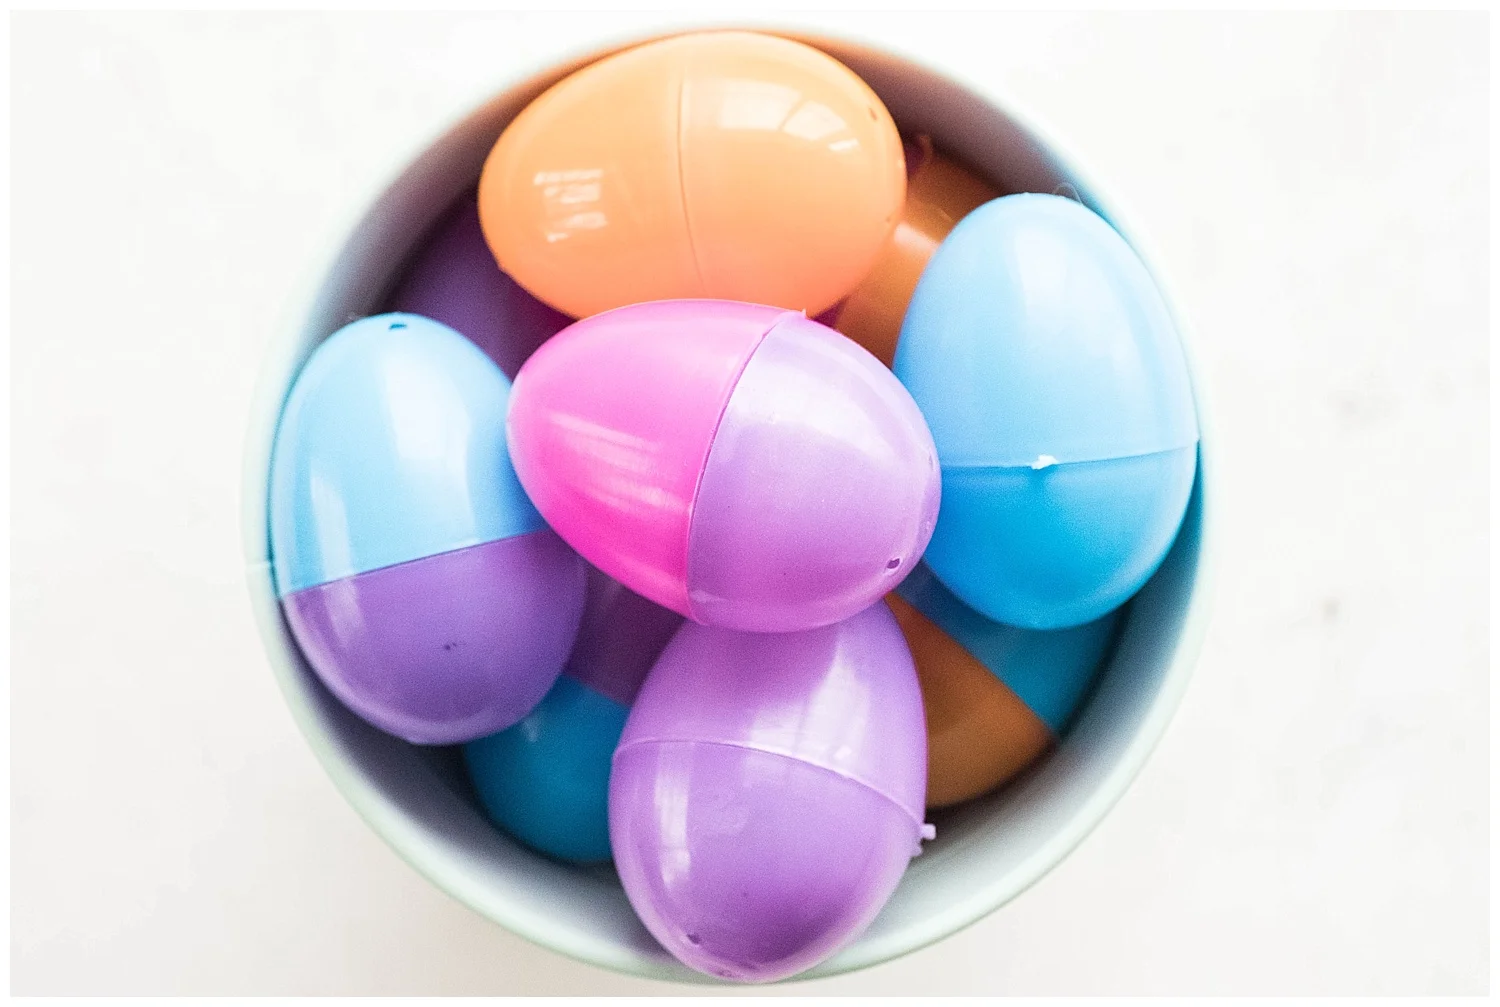
If you celebrate Easter then you probably have the same dilemma I do...here’s how Easter plays out at my house. About two months before Easter, I see decorations filling the store and I proactively buy Easter eggs trying to prevent what happens every year:  It’s the night before Easter as soon as the kids go to bed, I start going to work as the Easter bunny, filling up baskets.
 

First step is of course, retrieve those plastic eggs.  And every year when I can’t find where I put the eggs I bought 2 months ago, I send my husband to find whatever plastic eggs are left in the stores.  Then, Murphy’s Law comes into play and I find said eggs purchased 2 months ago usually no more than 7 days after Easter.  I swear I’ll store them away and use them next year but let’s be honest...this little nasty forgotten Easter egg cycle has been going on for the last 6 years.  Instead of making myself feel bad about this habit I decided to create some art projects you can do with your kids to reuse those damn eggs!


Kids Art Project #1: Egg Maracas

denver childrens photographer paint sessions

Get two plastic spoons, fill the plastic eggs with anything you think will make a nice rattle.  Here I used, rice and dried beans.  Have your kids look for things to put inside the eggs and experiment, different things will make different sounds.  Once you’ve got your "rattlers” tape up the spoon handles.  Make sure those spoons are securely taped because they will get flung around and dropped!  After they're taped together you can decorate them. I found using scrapbook decorative tape an easy simple way to jazz them up.


denver childrens photographer paint sessions


Kids Art Project #2: DIY Bath Bombs

denver childrens photographer paint session

Plastic Easter egg shells make great bath bomb molds, you can find a zillion different bath bomb recipes online, find one that you like, my favorites are the ones that combine just a hint of some kind of essential oil in them, mix up a batch and put them into your molds.  Here’s another tip, if you’re the type that likes to incorporate some type of homemade gift for your kids teacher, this is one they will probably be pretty grateful for; hold onto your eggs so you can use them for end of year teacher gifts! 

denver childrens photographer paint session


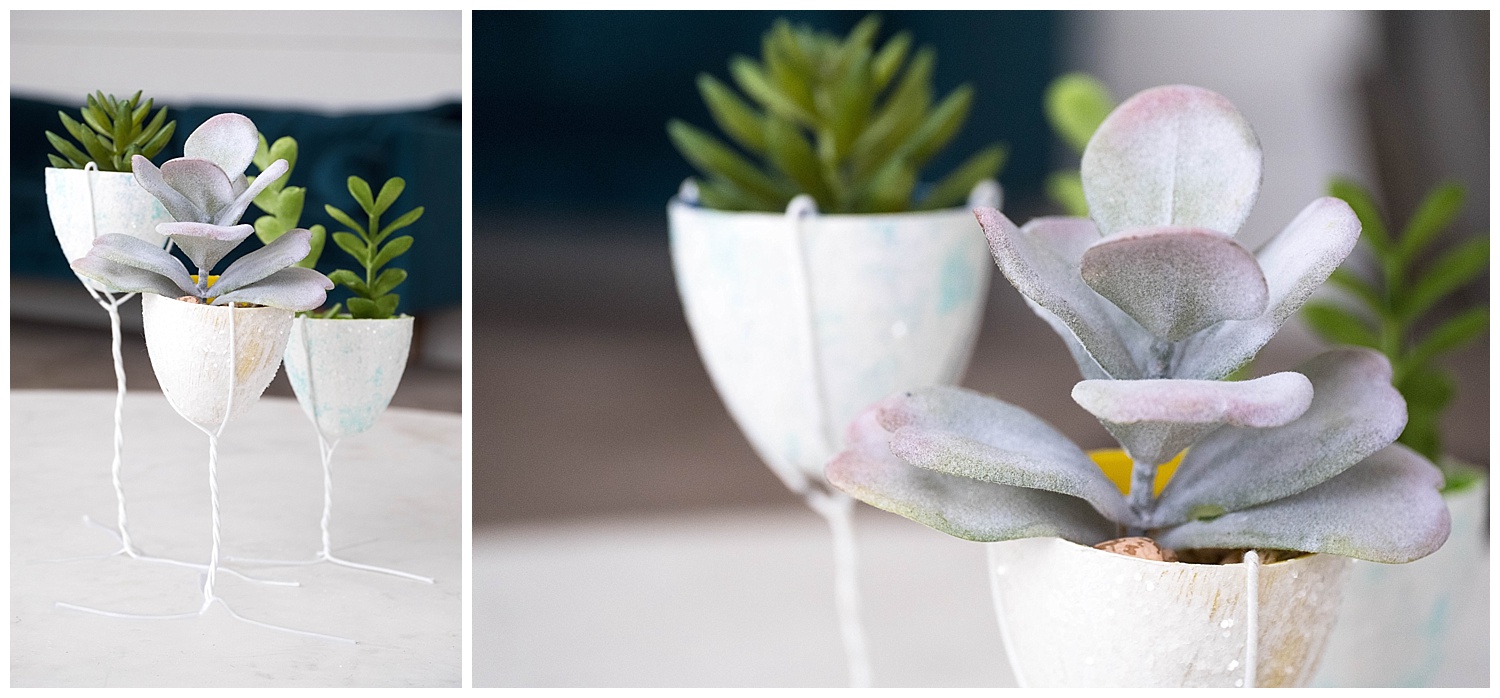
Kids Art Project #3- Mini succulent planters

I think succulents are just so darn cute and better yet, they are very hard to kill, that makes me like them even more!  You can make these little planters and have them sit on a window ledge, shelf, desk, dresser, bathroom, nightstand all over the house and (like me) you can pretend that you have a green thumb that nourishes and grows plant life indoors.

denver childrens photographer paint session

I painted my eggs white first, then “painted” glue on the egg after the paint was dry.  Then I sprinkled different types of glitter on them (if you do this, definitely use some sort baking or cooking dish with raised edges, because glitter…).  Then I cut 3 floral wires the length I wanted, while holding the wires, separate them evenly and bend the floral wire over the edges of the egg. Then grab the wires on the bottom of the egg and twist all 3 wires together. Spread the wires in different directions to make legs so it can stand. Now you can have those little succulents everywhere!

denver childrens photographer paint session

Do you have an idea on how we can reuse or recycle these little eggs- let me know!  I'd love to hear other ideas (because I've probably got at least another 10 years worth of eggs coming at me!).

Artistic Kids Photography- Artist in Residence Bio: Lucy, age 4

Artistic Kids Photography

Miss Lucy hails from the hills of Golden, Colorado.  What really sets her work apart from other 4 year olds is her unorthodox painting techniques.  She has invented and perfected a technique so daring and unique that few other artists dare try: the dive head first approach.  This is no figure of speech or idiom, she quite literally dives head first; hands stretched out front, entire body skimming through a puddle of paint. 

She does this with the skill and acumen of an Olympic diver.  Such precision and wide brushstrokes, add texture and movement unlike any other known painting technique.  As she wraps up her masterpiece she completes every work of art with another signature move: the paint push up.  She adroitly hovers her body on all fours over the painting until she finds the exact right place and moment to drop and give a little belly imprint coupled with two partial rolls on each side. 

Her technique, unusual.  Her motivation and determination, inspiring. 

While painting she is completely engrossed, hardly looking up for a moment from the work that sits in front of her.  Her work is currently being shown by the Dining Room wall gallery, which operates in the same hometown of Golden, Colorado.  Upcoming exhibitions include: Living Room above the Sofa and The Room I Share with Jack.


denver childrens photographer kids paint session
Denver childrens photographer kids paint session__0165.jpg
denver childrens photographer kids paint session

Interested in booking a session?

Kids craft project-Custom nameplate activity for kids, Part One

Kids craft project

If you have twins, triplets...scratch that...

if you have many children...wait...

if you have children close in age...ummm, hang on...

if you have multiple children...trying again...

okay if you have a singular child. 

Yes, if you are in close proximity to any child roughly from about the age of 18 mos to let's say adulthood you are acutely aware of the importance of having your name on things.  It's of utmost importance, their name must be on everything, and once they learn how to (sorta kinda) write it, they must do it.  Names are very important.  Especially to my two boys, Jacob and Nicholas, ages 7 & 4.  The name game is strong in our house, being boys and sharing a group of friends and a room to boot.  "Names" define fierce boundaries around here. 

Over our spring break last week we did two different nameplate kids art projects that were both easy to do, captured their attention and ended up looking pretty cool in the end.

First we did salt art. 

I started off with a color palette that I found pleasing...lets be honest, kids need some guidance in the color department.  As parents we need to look and enjoy these pieces it might as well be something I can stomach looking at over and over again! I just these colors because I'm 1. obsessed with them and 2. this color combo naturally induces peacein my brain (and many times, my boys do not) so it's like a little constant dose of Xanax.  Who couldn't use that?

Deenver childrens photographer paint sessions


I used my watercolors to paint 2 whole sheets of watercolor paper.  1 sheet I left whole, the other sheet I tore in half.  I hand tore all the edges of the paper bc I think it looks better than a straight edge.  I also made sure to darken the edges all around the paper to really highlight the texture.

denver childrens photographer paint sessions

When the sheets are dry, I glued the half sheet on the whole sheet, right in the center.  Next, with pencil I wrote their names and then went over it again, with a darker water color paint color so it would be really easy for them to do the following step. 

Then I had them trace their painted name with glue.  Once they're done, I let them cover the whole sheet with salt- normal cheapo kitchen salt variety is fine. Best to do this step in a baking sheet with raised edges to keep the salt contained.

denver childrens photographer paint sessions

Give the glue and salt a few hours to dry.  When it's ready, mix up your food coloring, keeping a color palette similar to the colors you painted with earlier.  Then use an eye dropper to apply the food coloring on the salted letters.

denver childrens photographer paint sessions

When you're done, again wait for it to dry a bit and then use some adhesive spray to make sure everything stays intact once it's hung up.  And there you have it- a customized nameplate for your little(s) to hang and stake their claim (and it's easy on the eyes!).


Kids art project perfect for Valentine's Day

Kids art project

Looking for a simple handmade kids craft idea to give to someone for Valentine's Day? This is the perfect kids project, that's fun, easy to do, not time consuming and ends up looking great.  A perfect gift to give to your child's favorite teacher or Grandma/Grandpa for this upcoming holiday (or any day!). 
You will need:
1. 1- 5x7 canvas, you can usually buy two of these at a time, great for siblings!
2. 1- black or brown oil based Sharpie paint marker
3. 2- different colored ink pads
4. 1- heart shape stencil
5. 1- piece of card stock, any color

First draw your tree with your Sharpie paint marker,  lay the heart stencil down so you can visualize where the branches should go.  You don't want branches under the stencil or touching the sides.

denver childrens photographer paint sessions

Next, using your stencil and card stock, draw and cut out your heart so you're basically making another heart stencil.  Technically, you can just use your heart stencil but I didn't want my original to get ink all over it, so I made another one.  Lay the stencil on the canvas and tape it so it stays in place.  Then break out the ink pads and get them ready.

denver childrens photographer paint sessions

My son knows I like blue so whenever he gets the option to pick a color he does his Mama proud (que the collective internet sigh)!  Once your stencil is taped down, it's time to start "stamping" with thumb prints.  Continue until all the white space in the heart is filled with different colored fingerprints.
 

denver childrens photographer paint sessions

When you're done you have a cute little heart tree canvas suitable for hanging up and one really proud kiddo.  Look at these smiles, art makes everyone happy!  Try different color combinations for different kids and give someone a whole forest of heart trees.  If you try this at home show me what you made, I'd love to see it!